Guide to Joshua Tree National Park | Itinerary and Photography
July 13, 2023
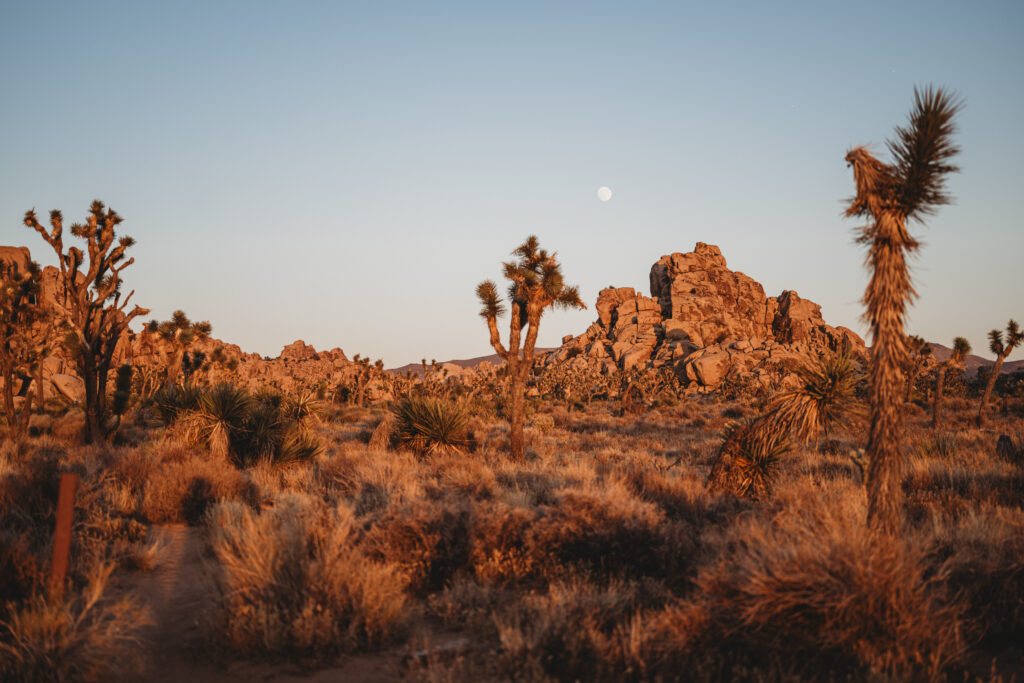
I’m the kind of National Park traveler that wants to do the hardest/coolest hike in the park, drive the scenic route, and do some fun photography. I’m not only there for hiking or only trying to get the best pictures, let’s call it ~balance~ … an all around experience. So I’m going to share my guide to Joshua Tree National Park itinerary and photography!
Getting to Joshua Tree NP
In late June, I drove out to Palm Springs, CA to attend a photography workshop with 25 other women and urged Megan to meet me there after the workshop to explore Joshua Tree NP together for a few days.
She chose to fly into the Palm Springs Airport (PSP) which was perfect and only 50 minutes to the north entrance of JTNP. You could also fly into the Los Angeles (LAX) or San Diego (SAN) airports if you’re willing to drive 2-3 hours to get to the park.
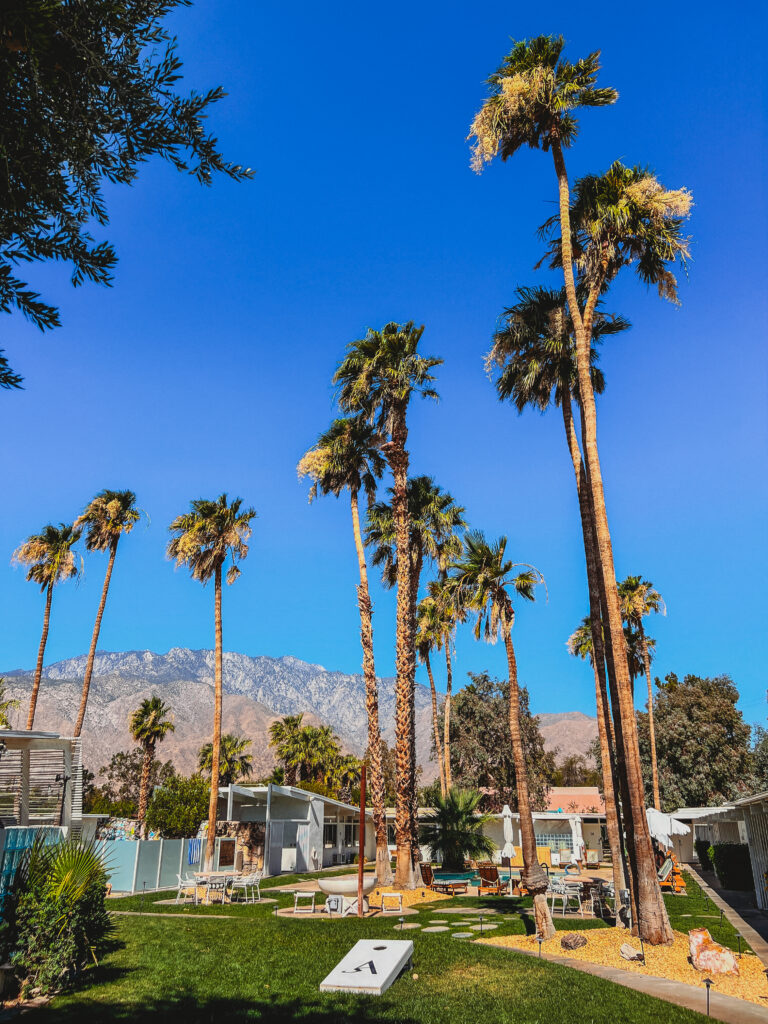
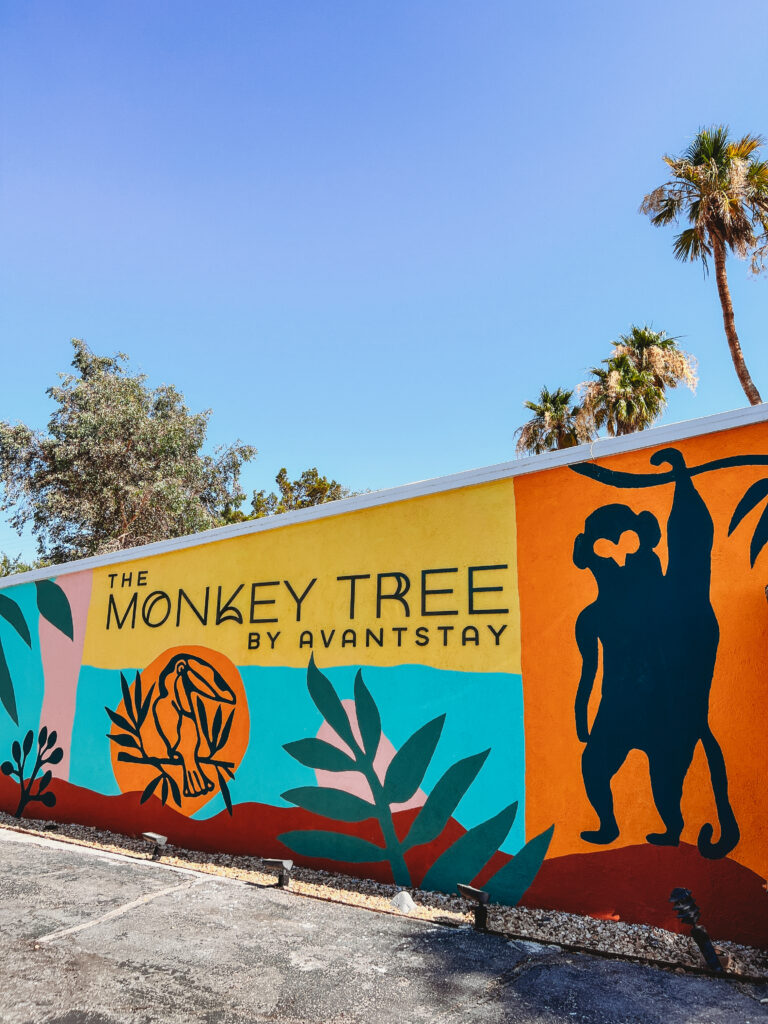
Some photos from the Monkey Tree Hotel in Palm Springs…

How to Enjoy Joshua Tree in July
You’re probably thinking… Joshua Tree in July? Sounds miserable…
You’re not entirely wrong, but we found ways to enjoy it. Including ice cream sandwiches and the pool!
Where to Stay/Hang out
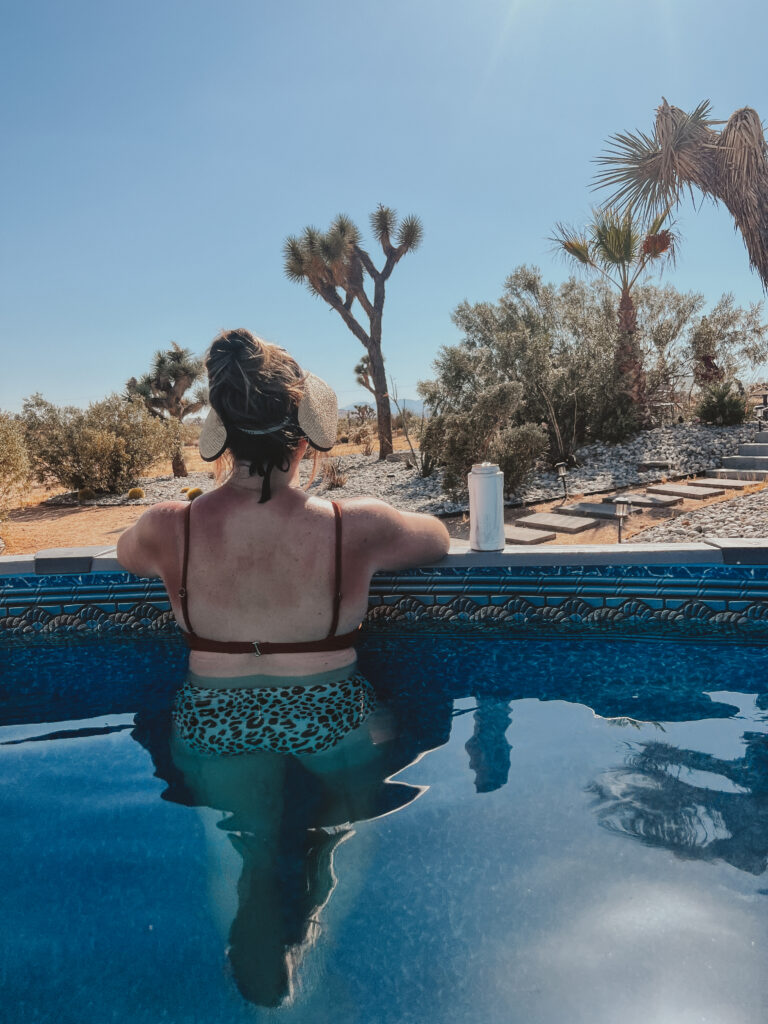
First of all, you definitely want to stay North of the Park – in Joshua Tree, Yucca Valley, or Twentynine Palms. There are a lot of cool Airbnb options that include pools/hot tubs. While the high was over 100º every day, the lows got down into the mid-70’s and we did end up venturing into the hot tub one night with some Pistachio Rose that I brought from Alamogordo, NM!
If you like travel itineraries, you are in the right place! I make itineraries for almost every trip I take these days and sell some of the templates on Etsy. So here’s how it went:
THREE-DAY Itinerary
Day 1 | Palm Springs to Joshua Tree National Park
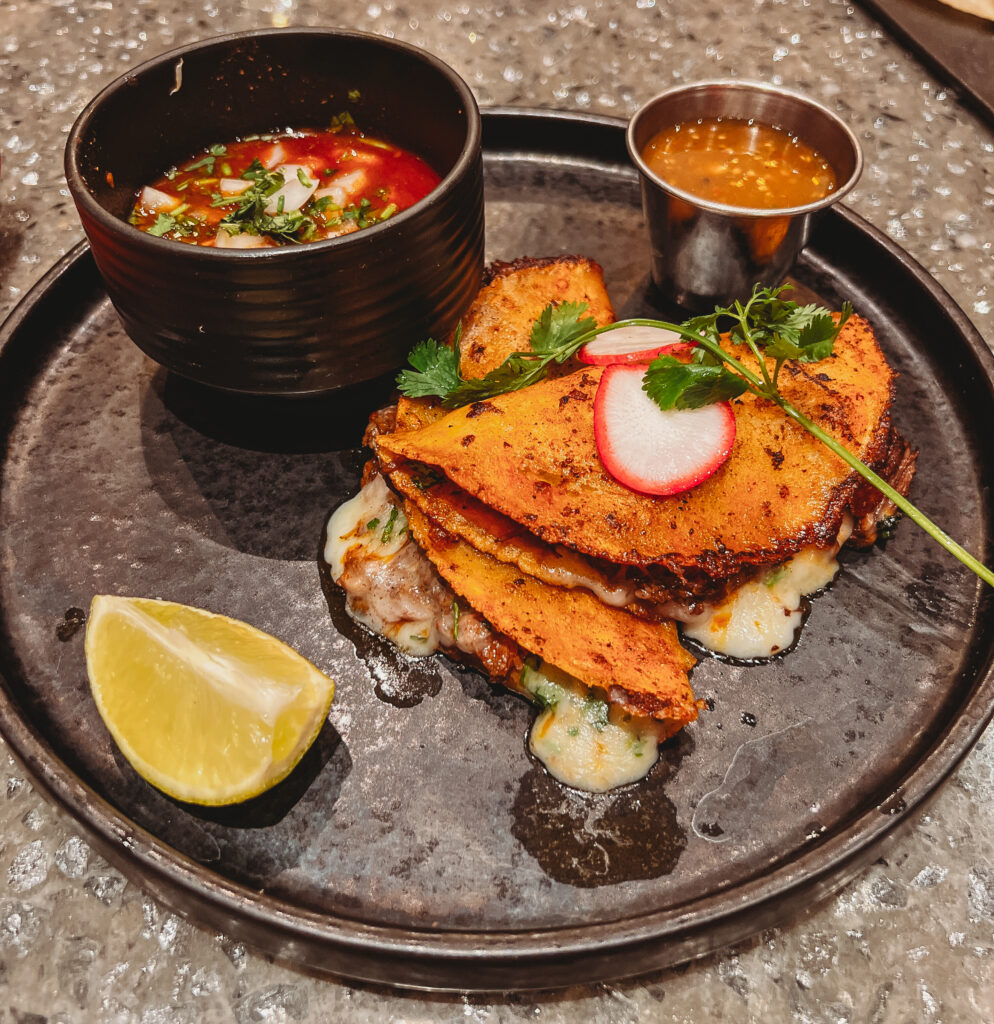
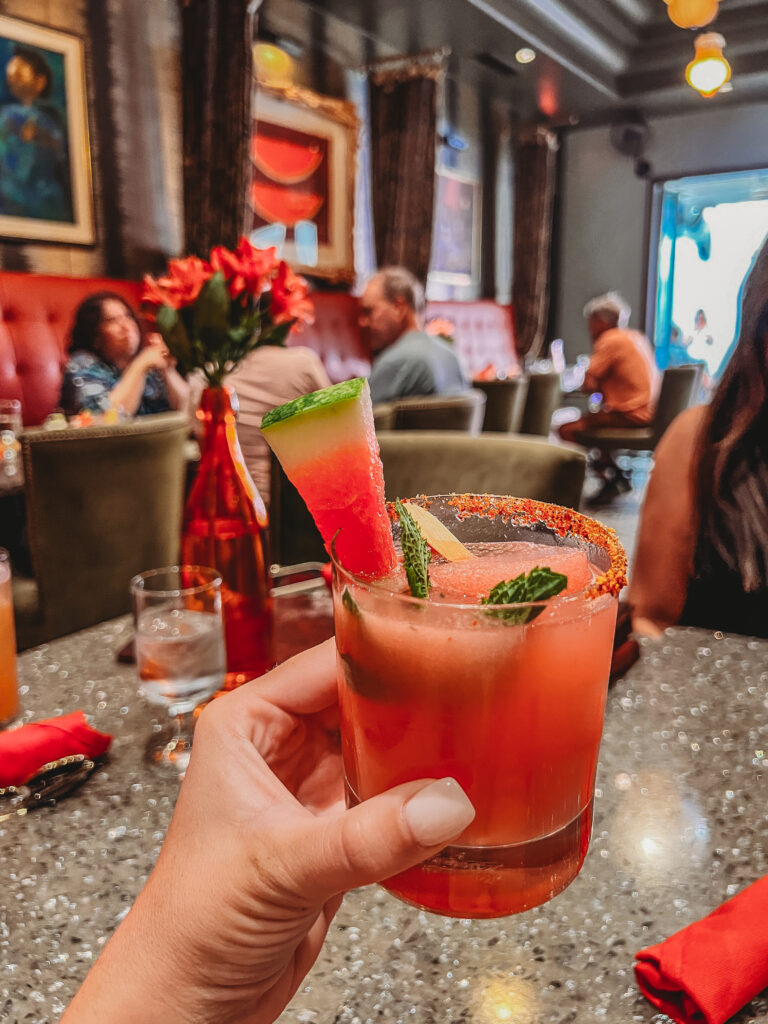
I picked Megan up from the Palm Springs Airport and she needed some lunch so we hit Tac/Quila for their AMAZING quesabirria tacos and fresh watermelon margs!
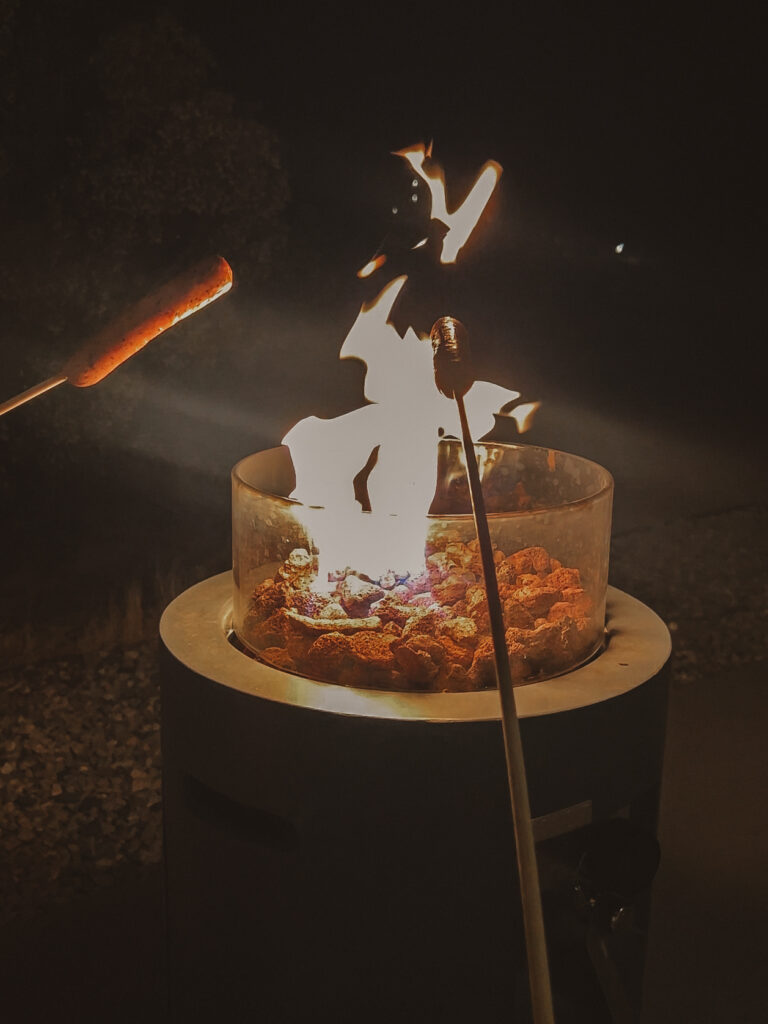
We stopped by Albertson’s for some snacks and sausages to cook over a fire later… and A LOT of water (our airbnb didn’t have a potable water source, but we read that we each needed at least a gallon a day in that heat and that was definitely the case).
INTO THE PARK!
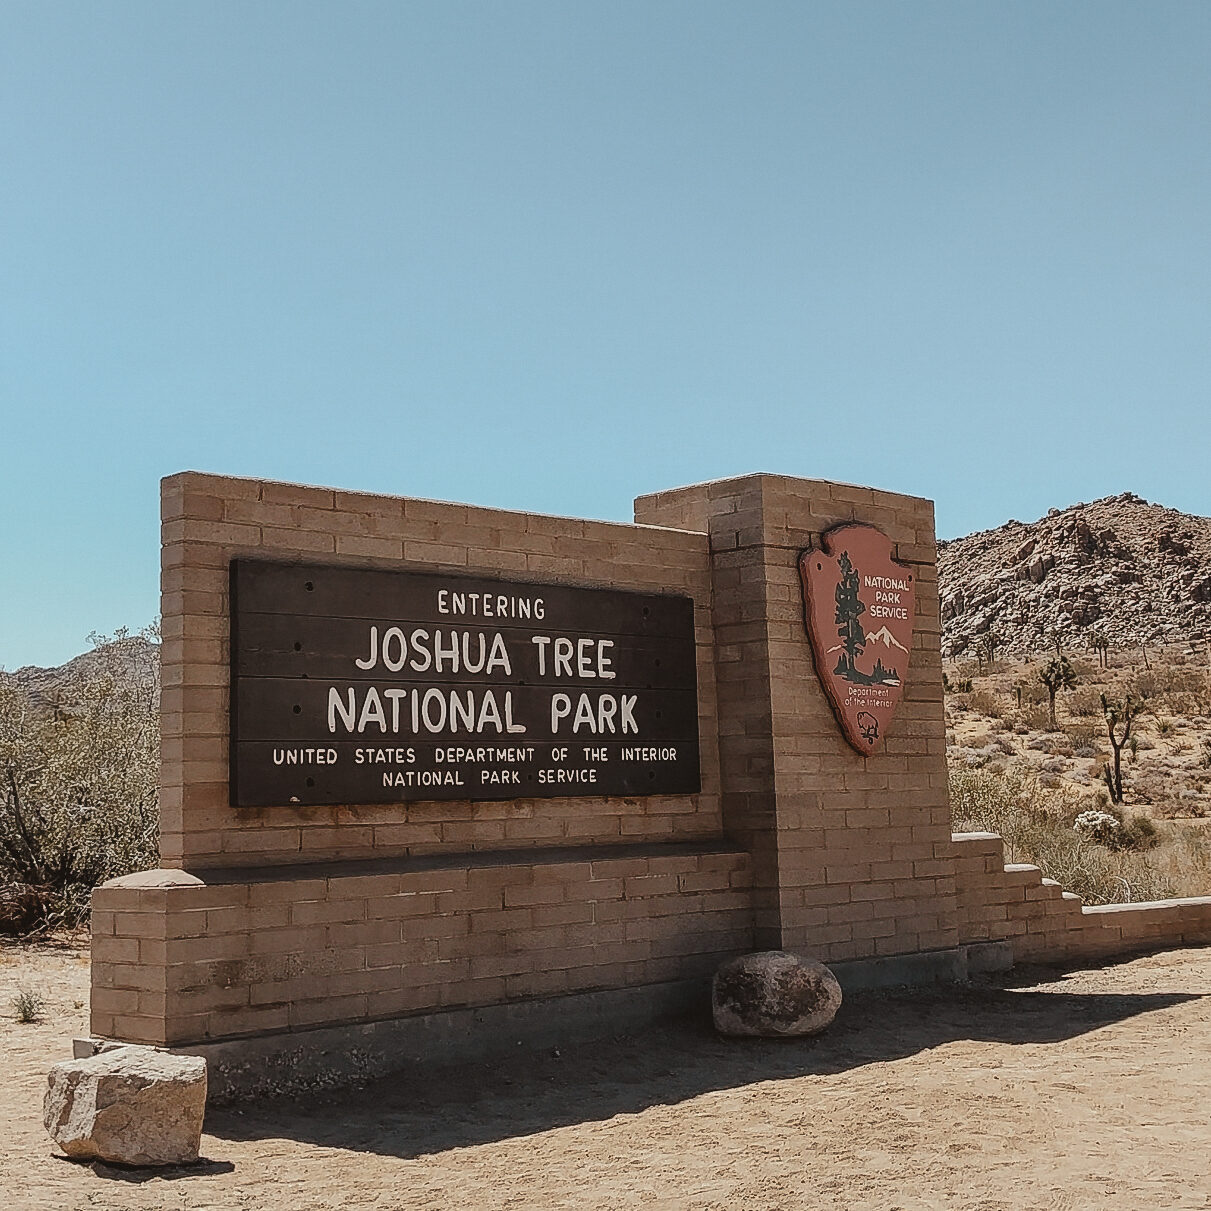
From Palm Springs, we actually drove in through the south entrance so we could make sure we’d see that side of the park, though we wouldn’t be driving that direction again (it’s really 6-and-1 from the Palm Springs area anyway).
Frankly, the south side of the park is nothing exciting, and you don’t need to go out of your way to see it.
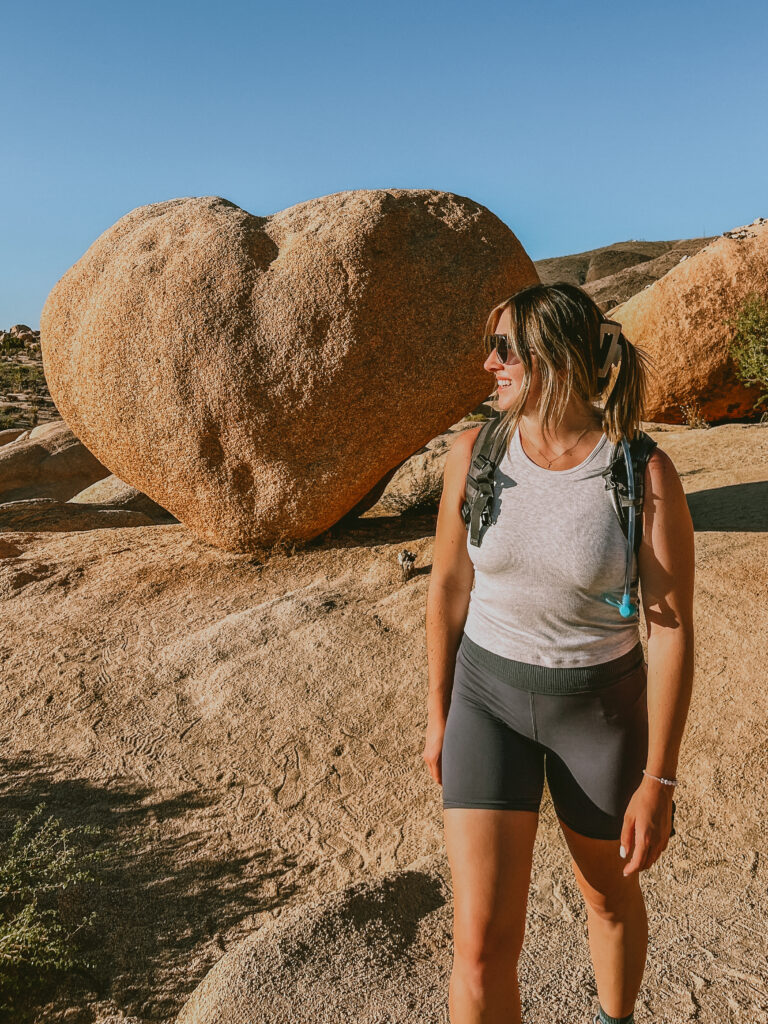
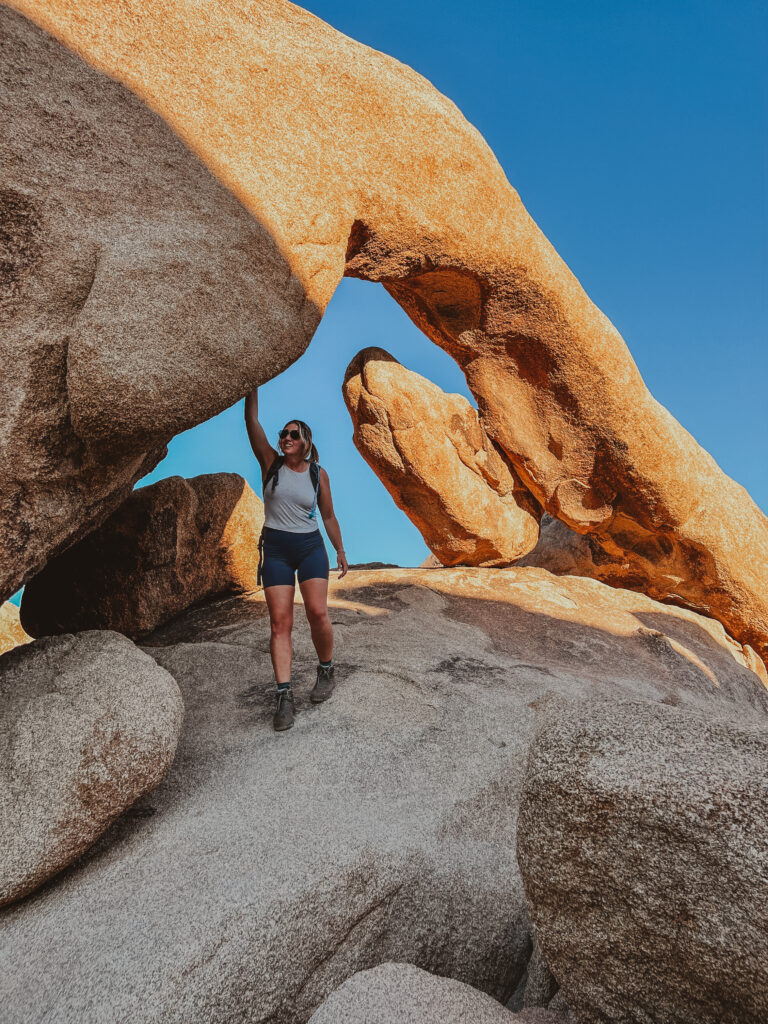
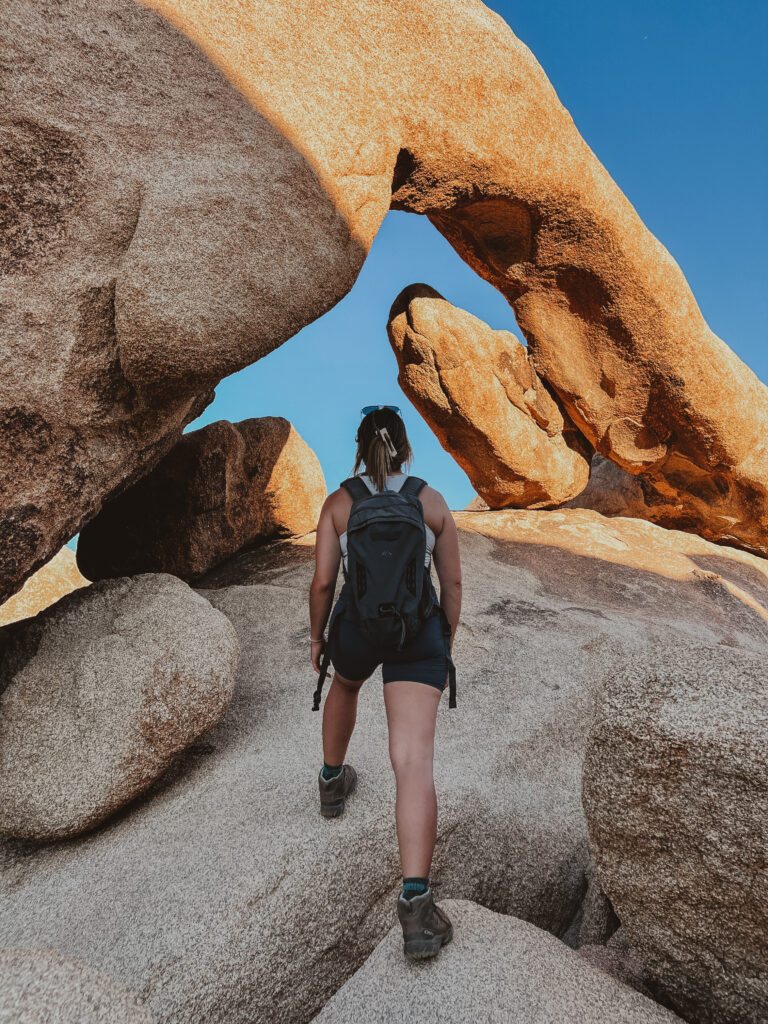
Hiking Arch Rock Trail with the Heart Rock Detour
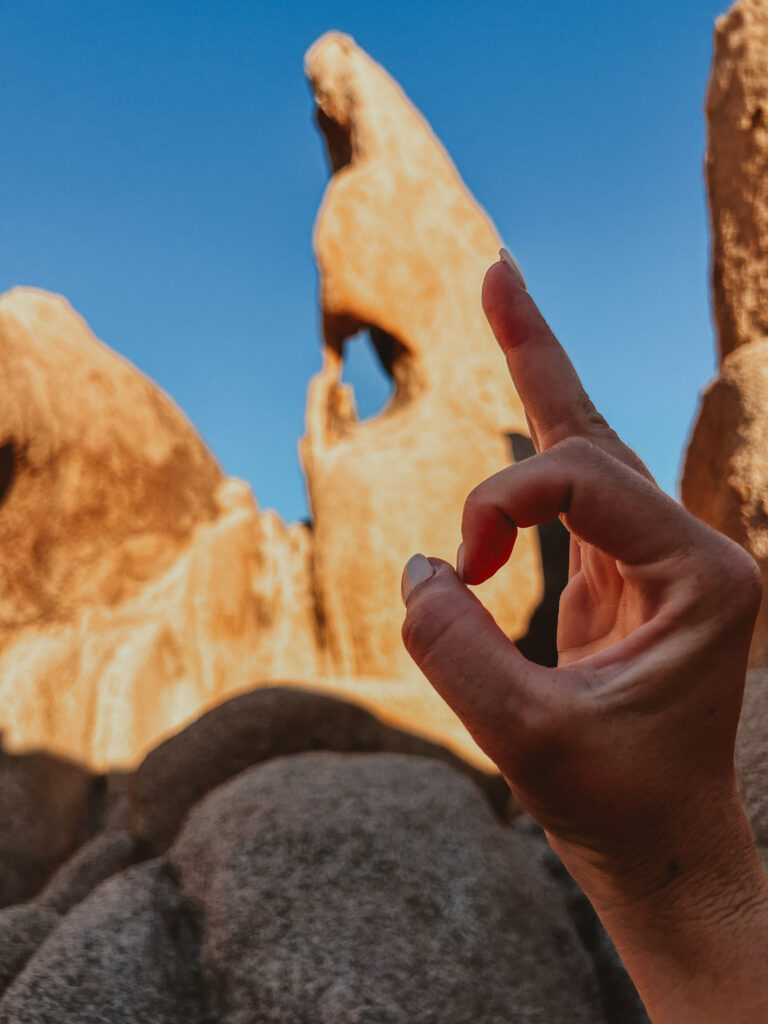
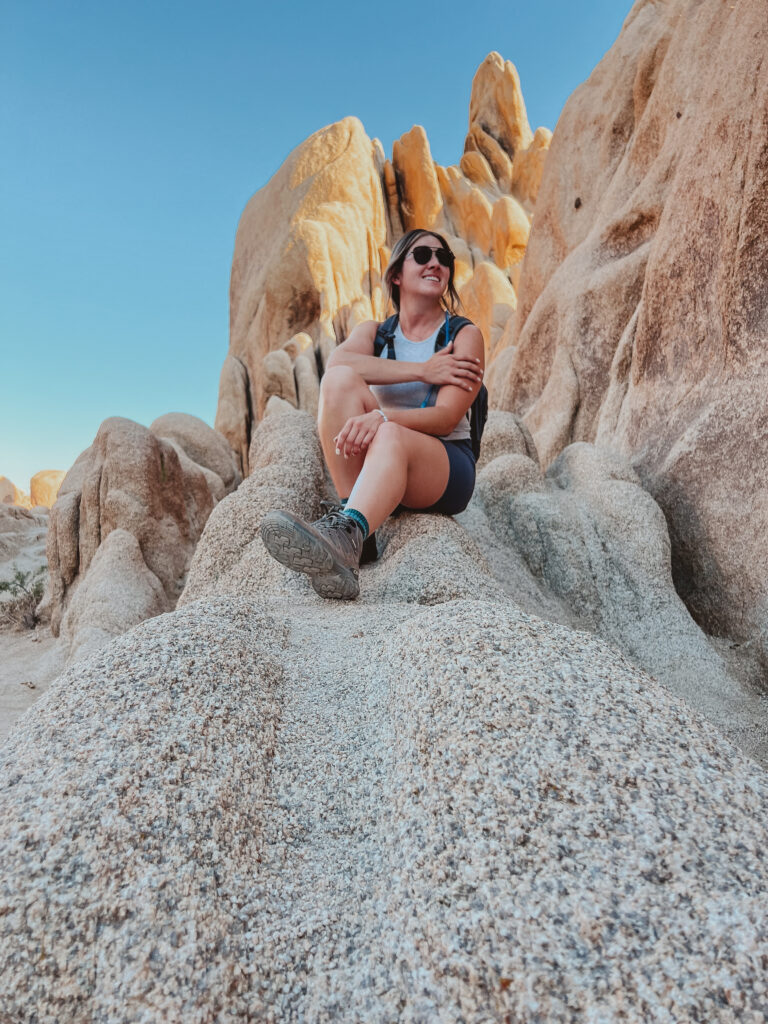
Our first hike in the park was the Arch Rock Trail + Heart Rock Detour. You’ll park across from the trailhead that starts at the crosswalk (there will be signs that say “trail begins at crosswalk” … that’s the one you want). The parking lot across the street is a couple minute walk but not far.
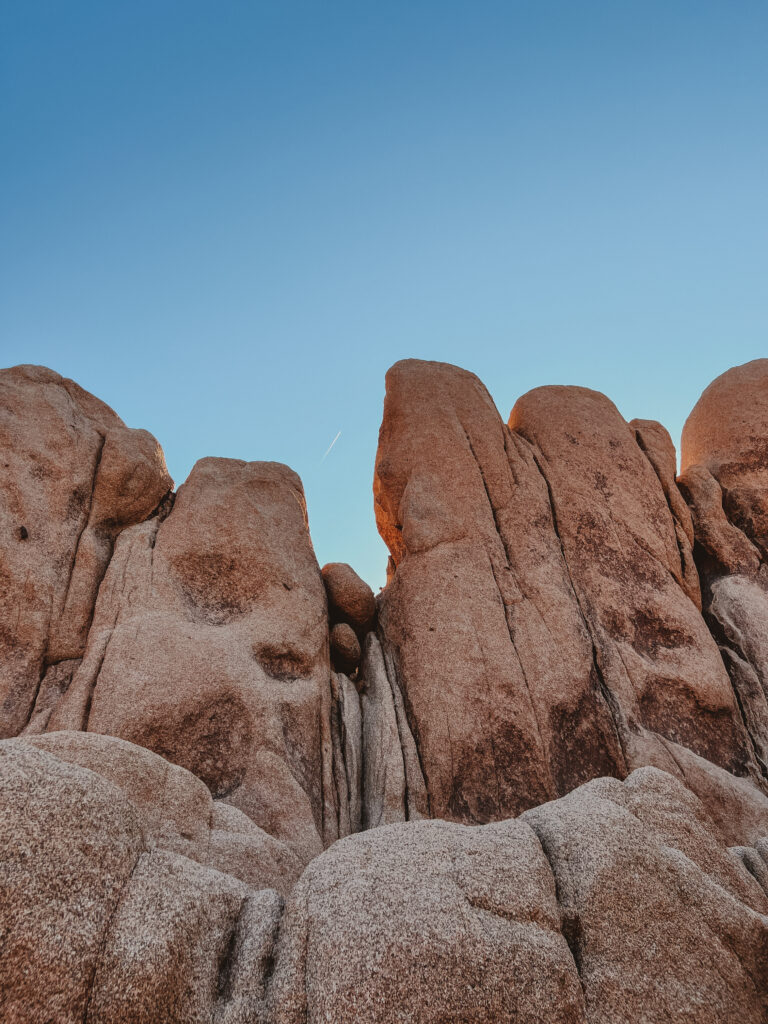
Once you get to the actual trailhead, there is ample signage to lead you along this 1.7-mile (out-and-back) trail. It was pretty easy to get to both Arch Rock and Heart Rock. There are some tight spots that can be difficult to shimmy through with your backpack.
Where to Sleep
After this, it was already later in the afternoon and we were hoping to find our airbnb before sunset, so we went ahead and called it a day at the park.
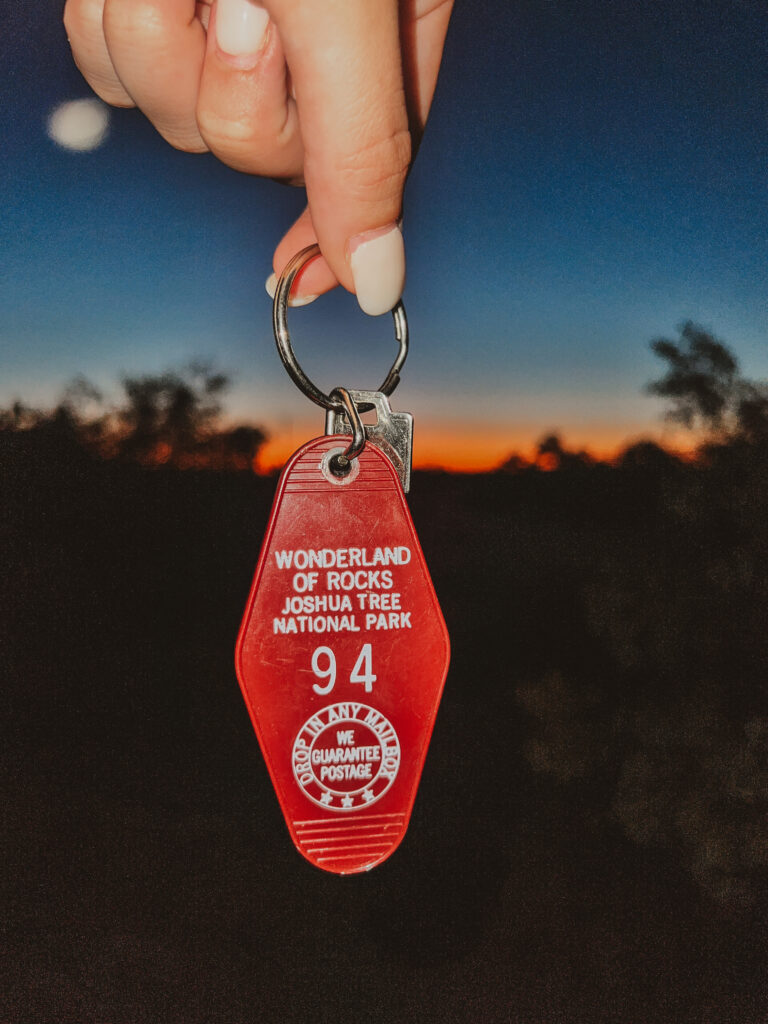
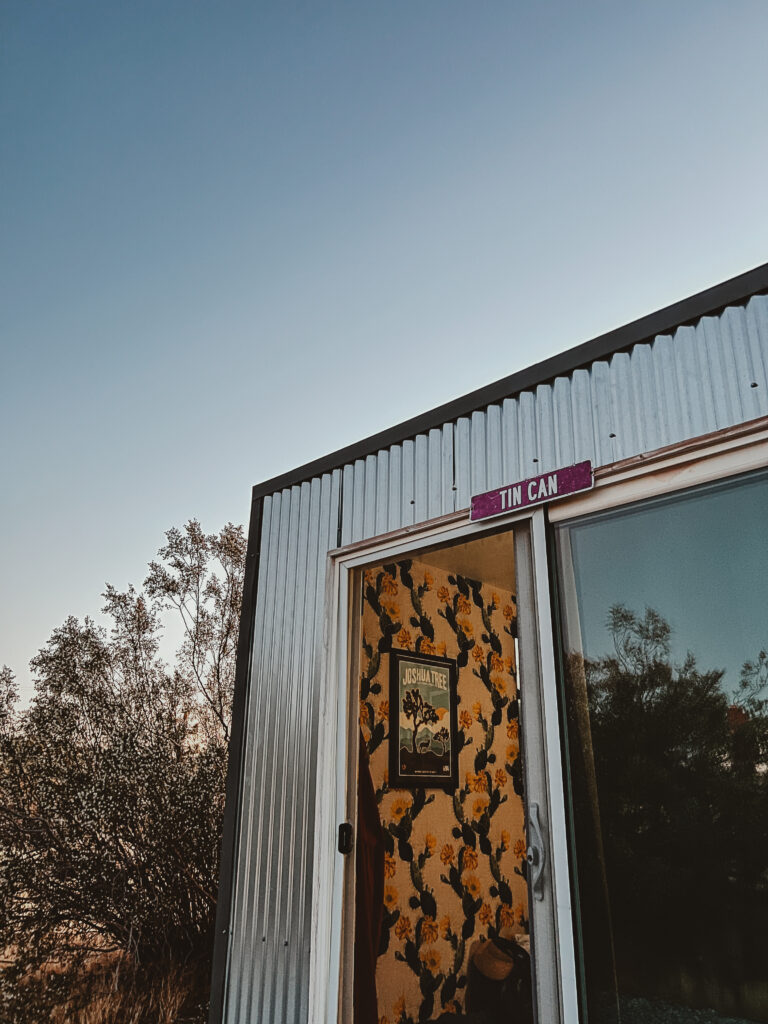
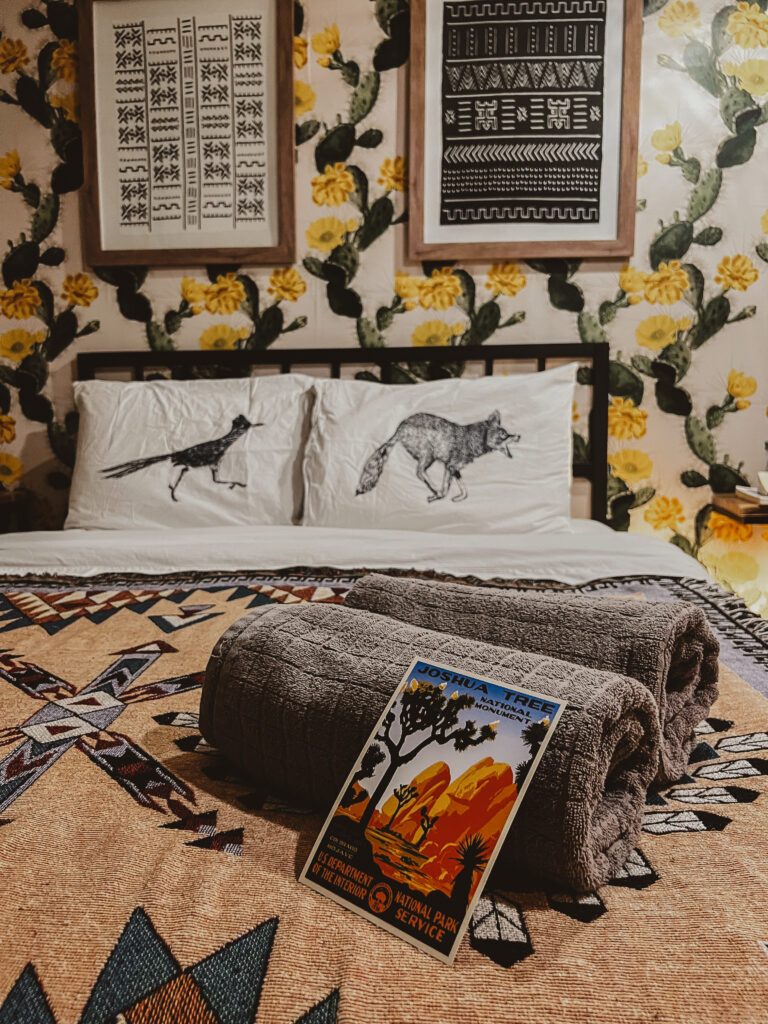
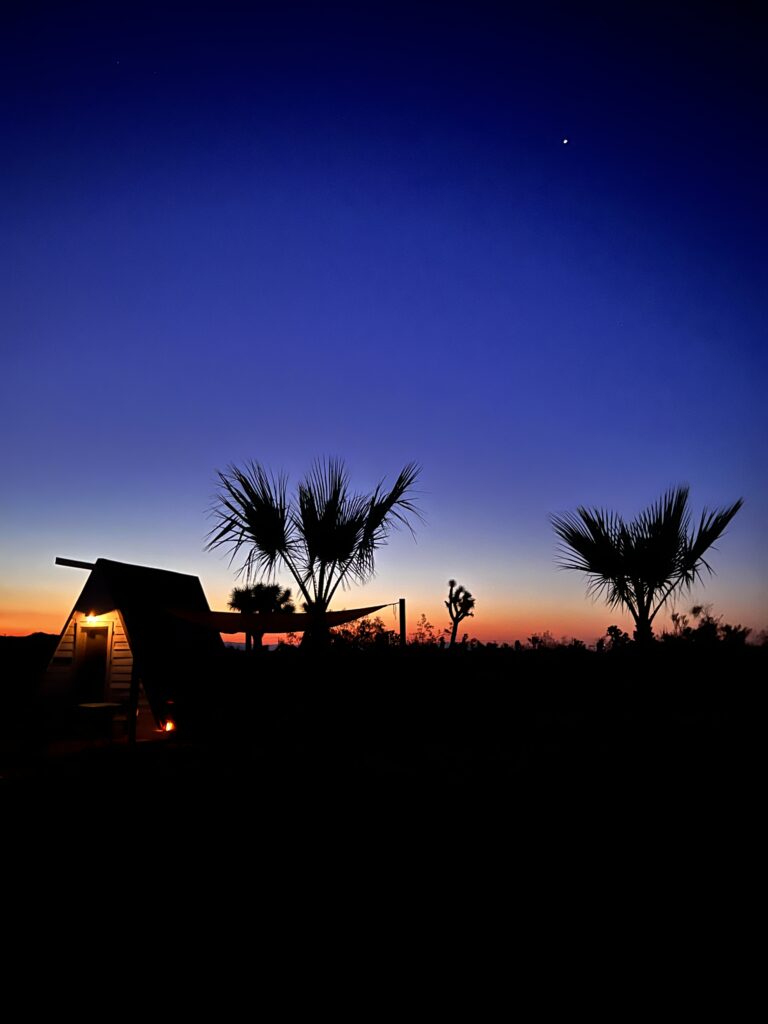
The place we stayed has 6 “units” that all act as separate airbnb listings, but there’s a newly renovated space with a pool, tanning deck, bathrooms/showers, kitchenette, grill/picnic area, and hot tub. Our sleeping arrangements were in a small shipping container, called the TIN CAN! Each unit has its own patio with a propane fire pit that Megan and I used to cook our sausages on.
Day 2 | Ryan Mountain, Hall of Horrors, Keys View, Pappy & Harriet’s, and a Sunset Photoshoot
In the summers, the sun rises around 5:30am, so without blackout curtains, you’re getting up pretty early and might as well make your way into the park!
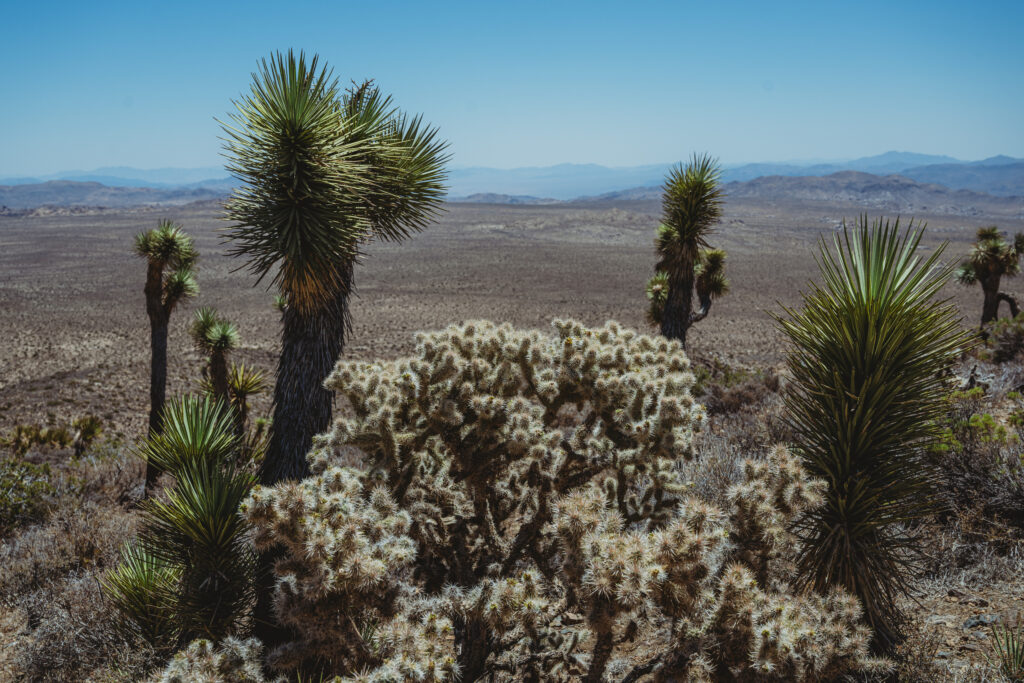
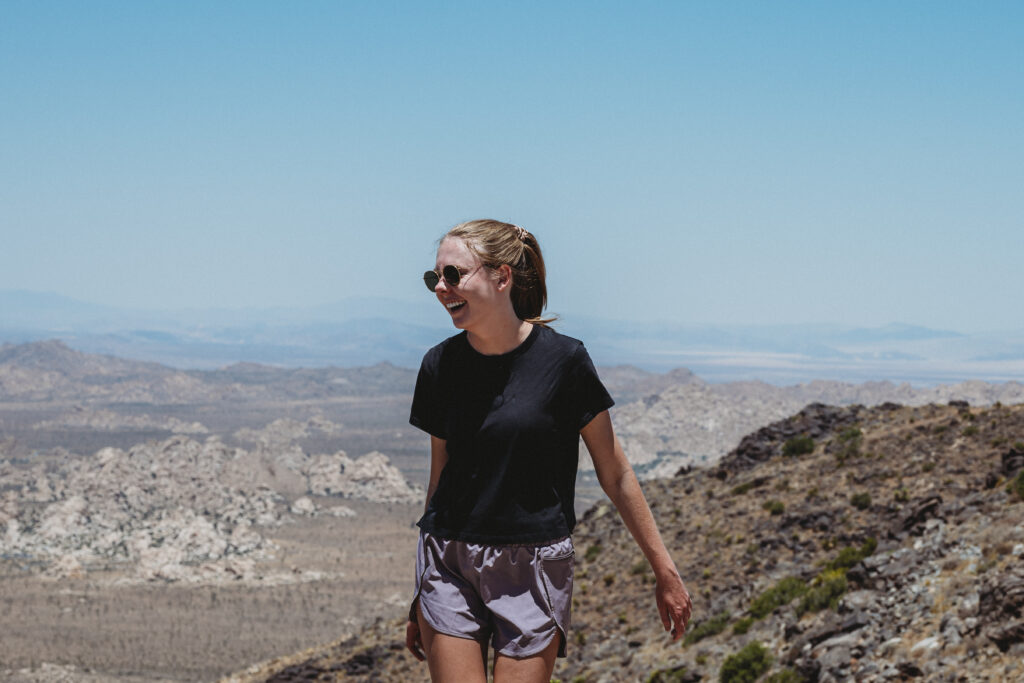
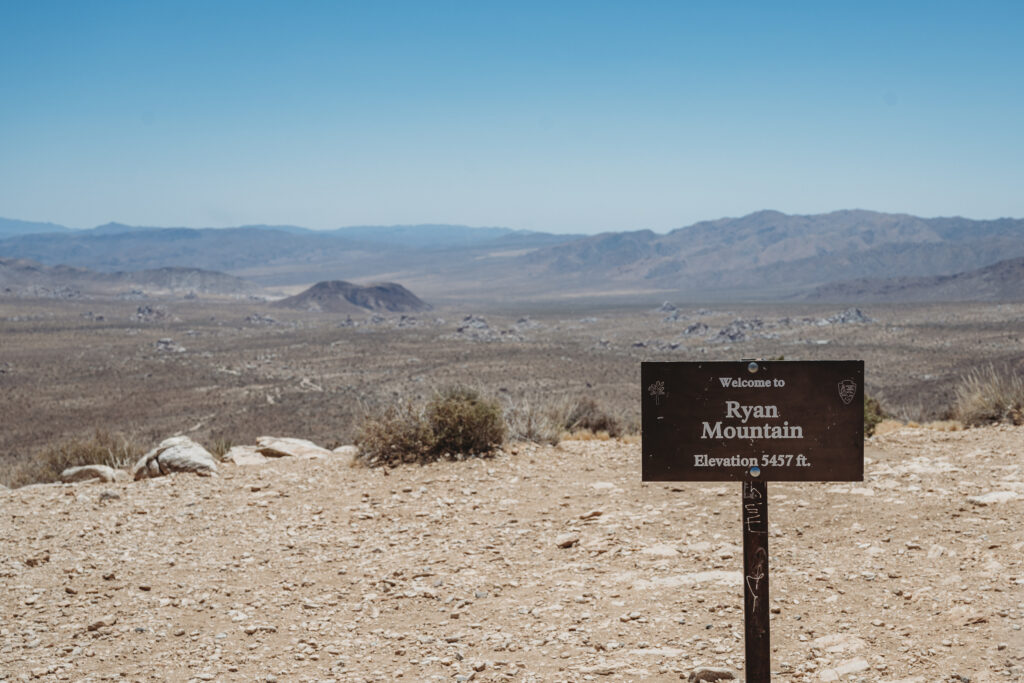
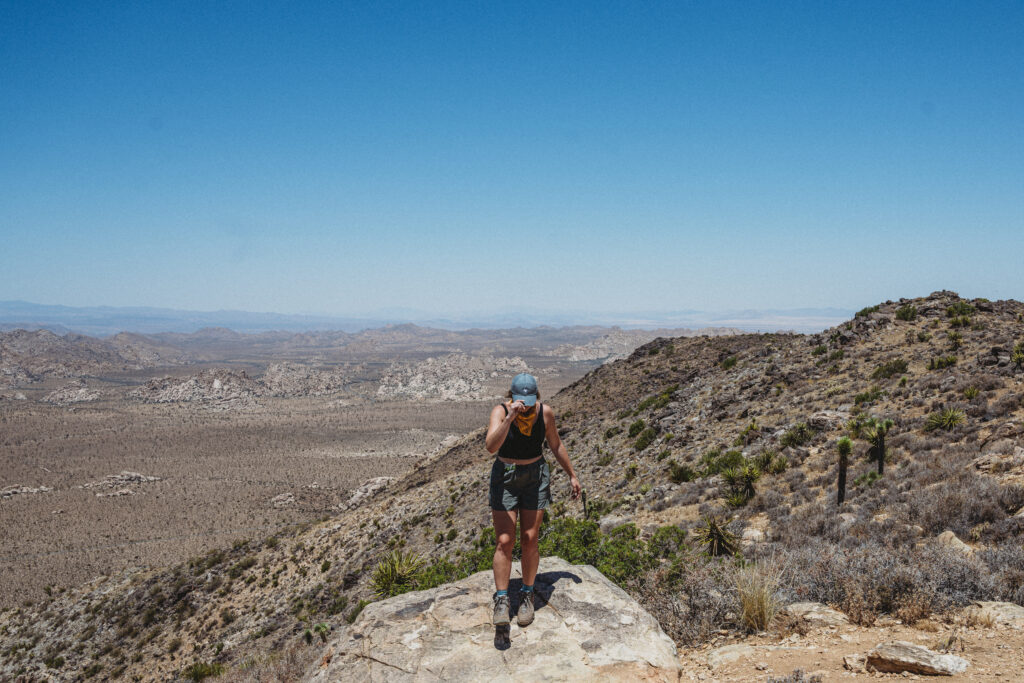
We decided today would be the best day to do the toughest hike in the park: Ryan Mountain. This hike is 3 miles, out-and-back, with 1,100 feet of elevation gain (lots of stair climbing), and leads you to panoramic views at the top of the highest peak in the park (5,461 ft.).
Luckily, we didn’t see any rattlesnakes, but we later found out that there are two that frequent the trail and peak… keep your eyes and ears peeled!
DON’T FORGET YOUR WATER BOTTLE(S)
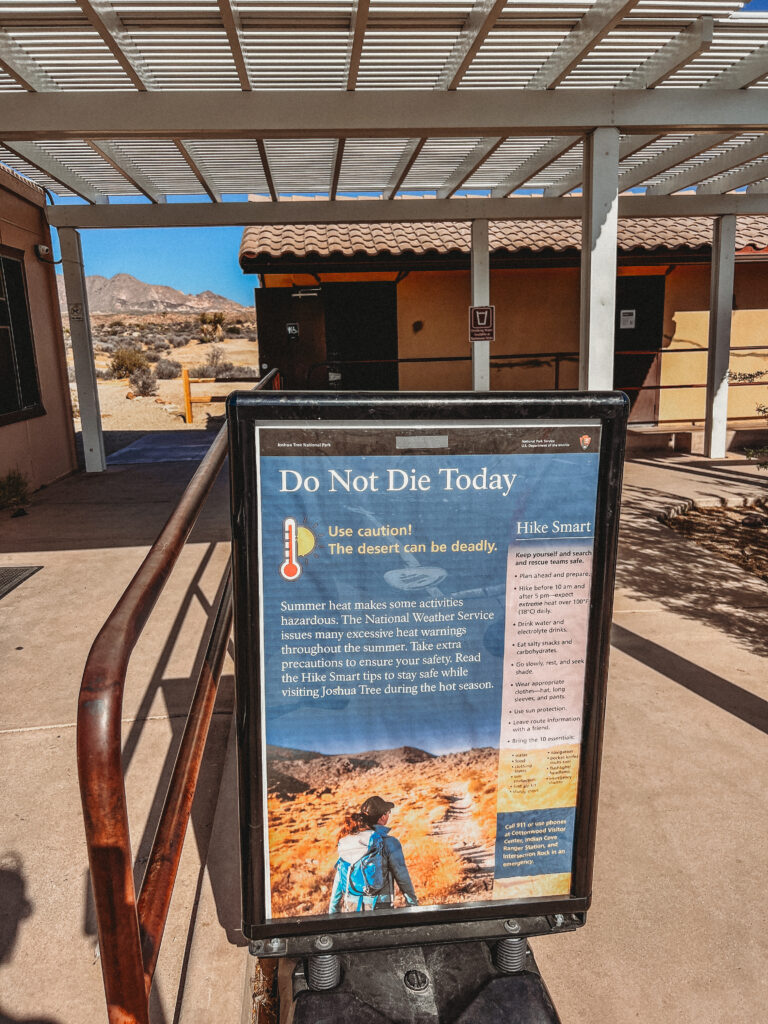
Please don’t die! There are signs in the summers that remind you to bring water and be aware of the signs of heat exhaustion. People really do fall victim to the heat in JTNP every year, so don’t take that warning lightly. (Pro tip: go to the gas station/market and grab a small bag of ice… fill your hiking pack bladder with ice, then fill with water – otherwise, it’s so hot that all of your water will get warm and be gross).
Ryan Mountain took us about two hours to hit the peak, take a few photos, and descend back to the parking lot.
Hall of Horrors
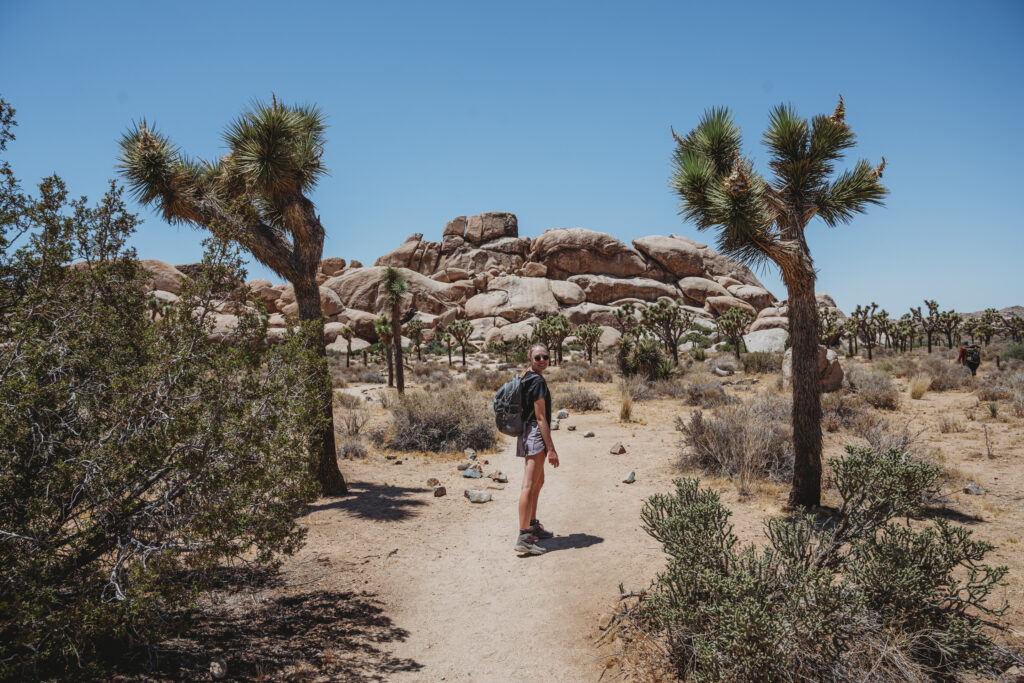
Right across the street is Hall of Horrors – the adult jungle gym. I thought we would enjoy this area more, but maybe we were just tired from hiking because we didn’t have a lot of interest in playing on the rocks. We saw some people scrambling to the tops and getting some cool photos, but we just did the 0.6-mi loop trail and headed out.
Keys View
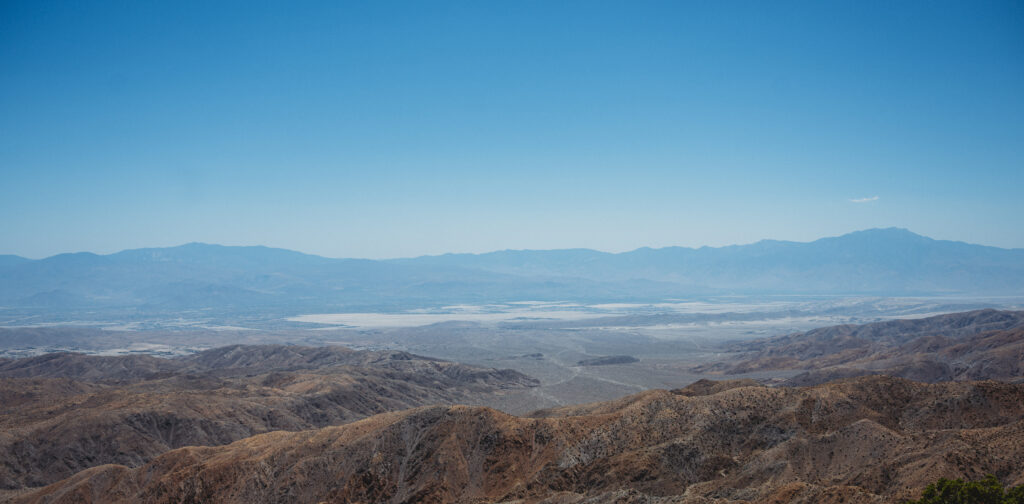
Next we headed to Keys View. It’s the most touristy spot in the park by far. Where the coach buses roll up and let people marvel at the sight (it’s not really that cool IMO).
This is where you can see the vista of Mount San Jacinto, Mount Gorgonio and Salton Sea (way) in the distance. Honestly, the views from Ryan Mountain were just as cool or better, but Keys View is a 0.2-mi paved walk so it’s a lot more accessible.
Back to the airbnb we go to hop in the pool for a couple hours and then get ready for sunset photos!
Lunch
During the hottest part of the days in the summer, most people leave the park to grab an iced cold drink or lunch from a local spot. Maybe even venture out to Pioneer Town and grab a burger at Pappy & Harriet’s.
Golden Hour Photos
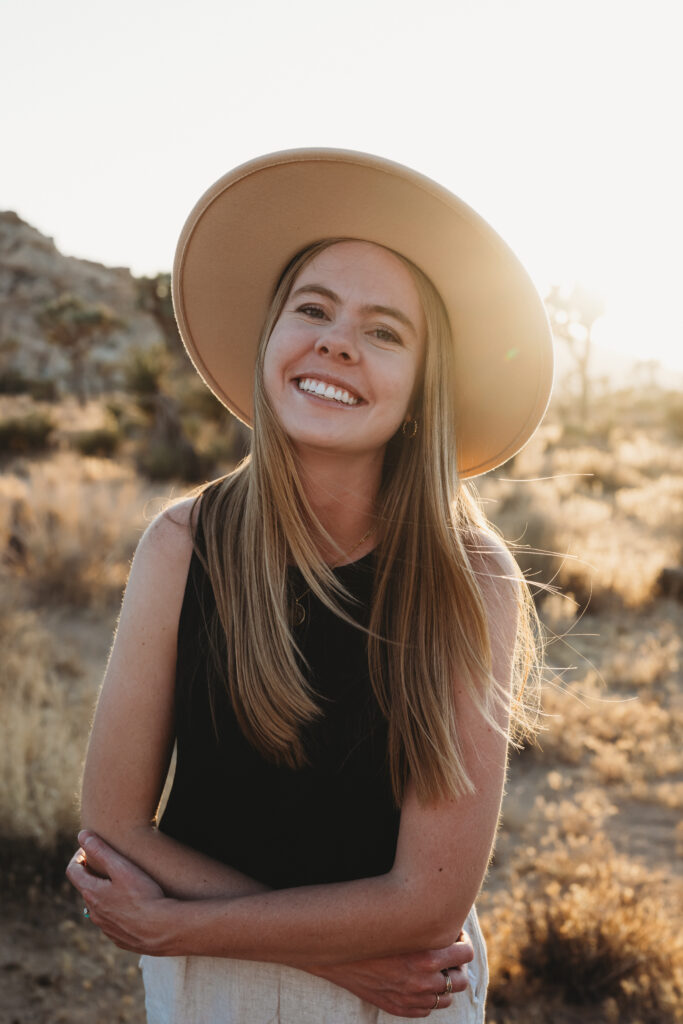
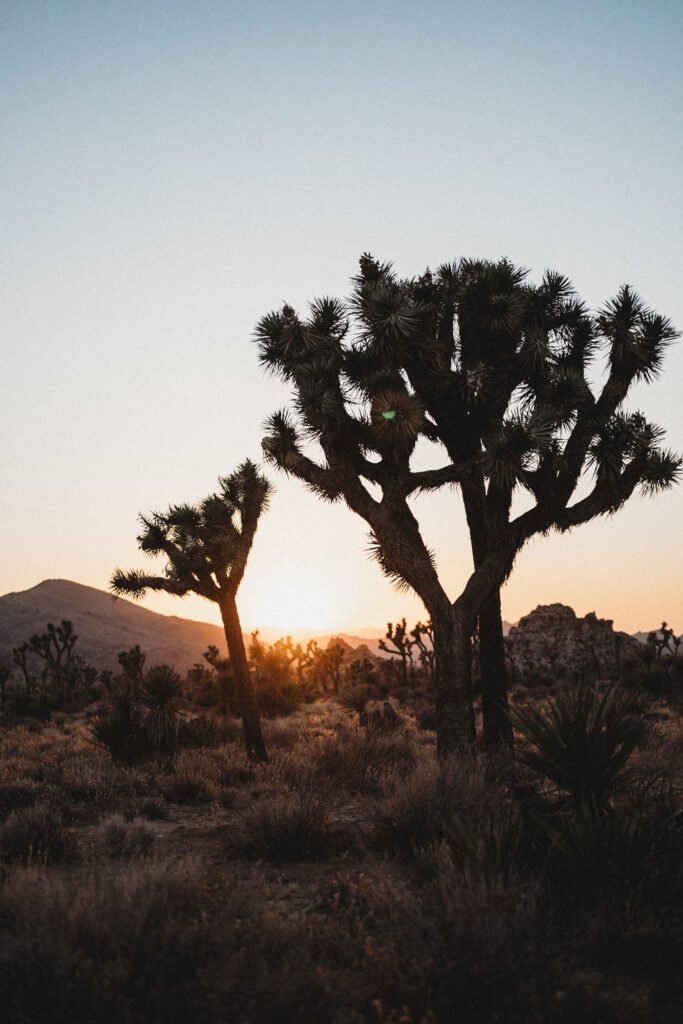
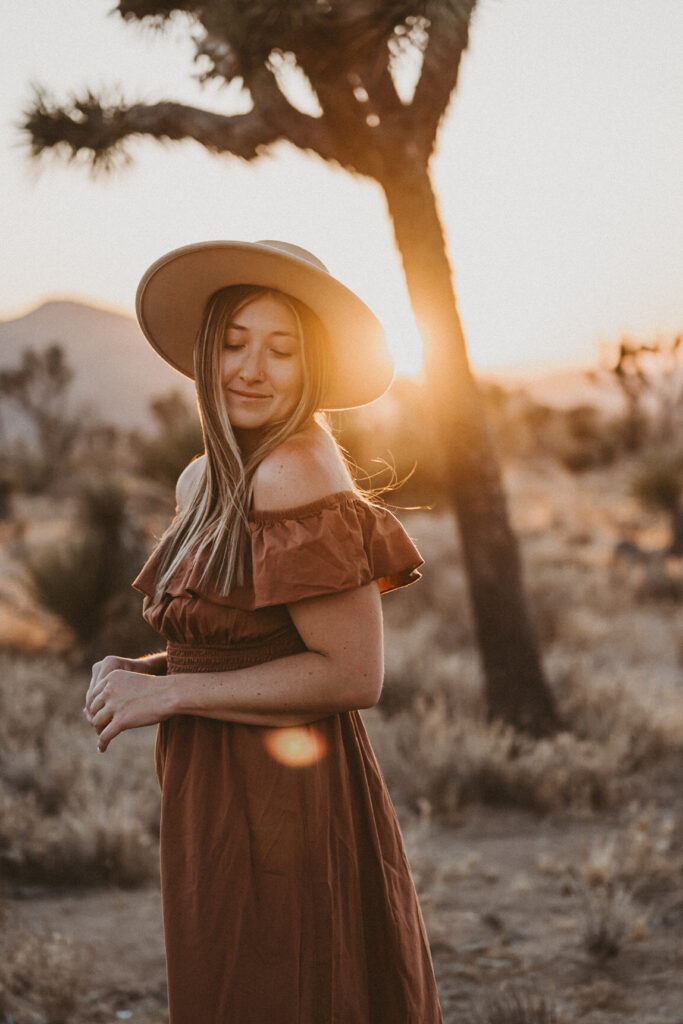
Of course we couldn’t come to a Joshua Tree NP and not have some kind of photoshoot with the iconic trees! Okay but WHERE do you get the best Joshua Trees?!
We found a field not far off Loop Road (photo coordinates: 34.02831ºN, 116.18007ºW) and aimed to start about an hour before sunset.
Here are some of the photos…
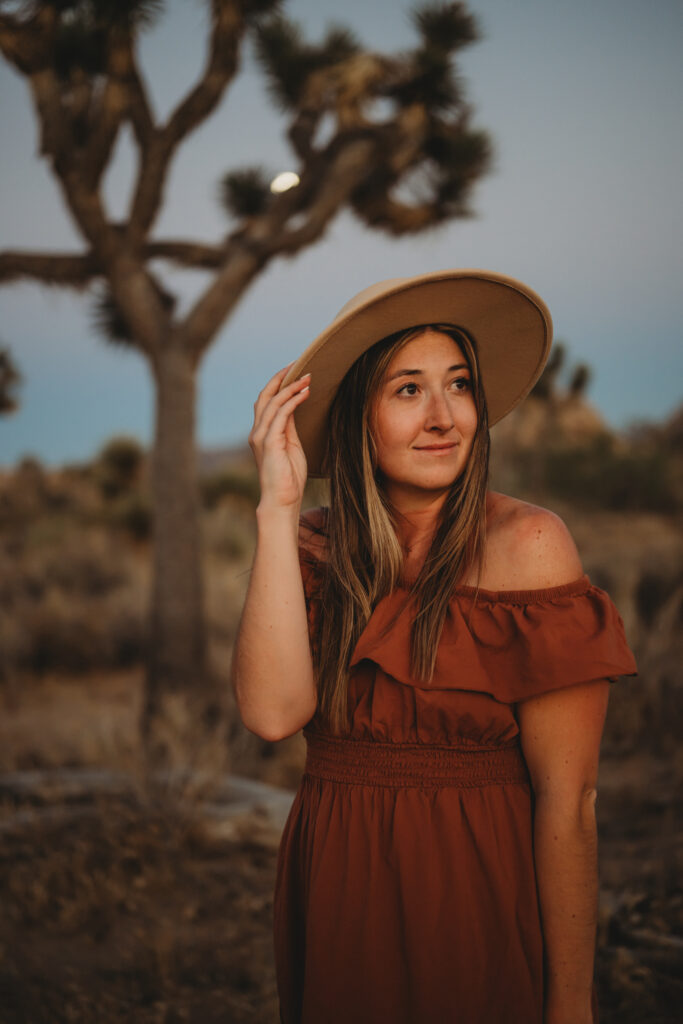
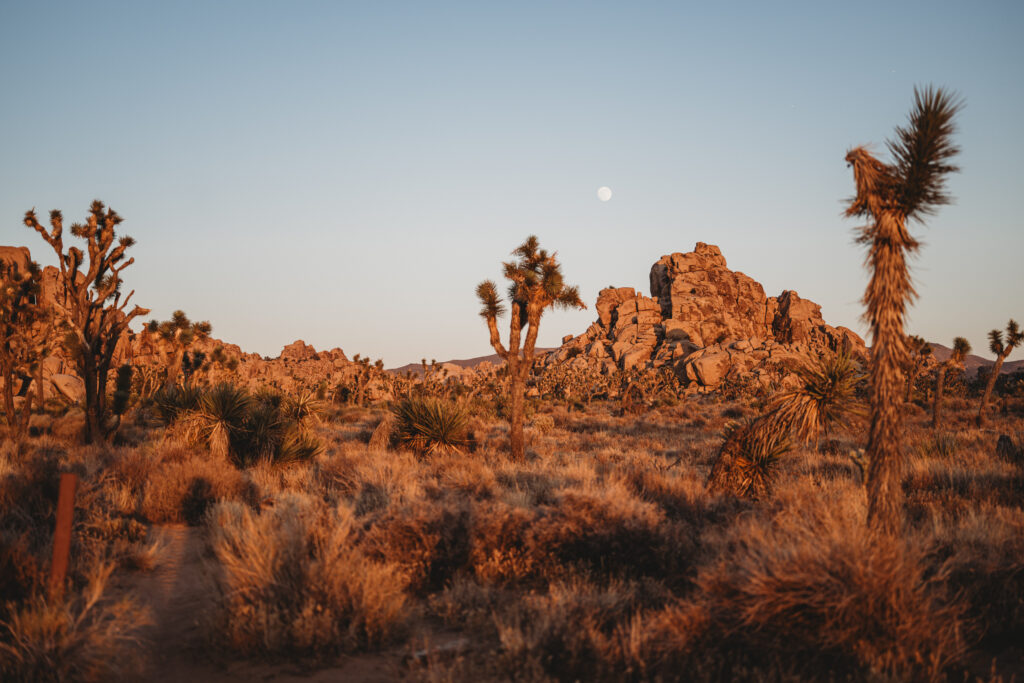
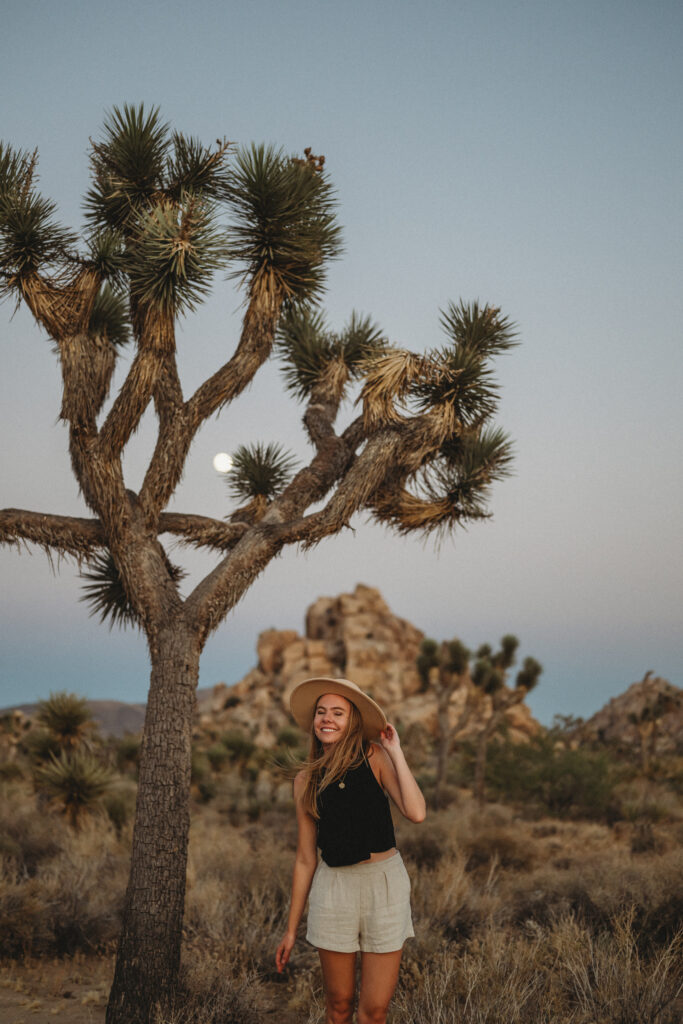
you can snag this wide brim hat from Amazon!
Day 3: Cholla Cactus Garden and Barker Dam
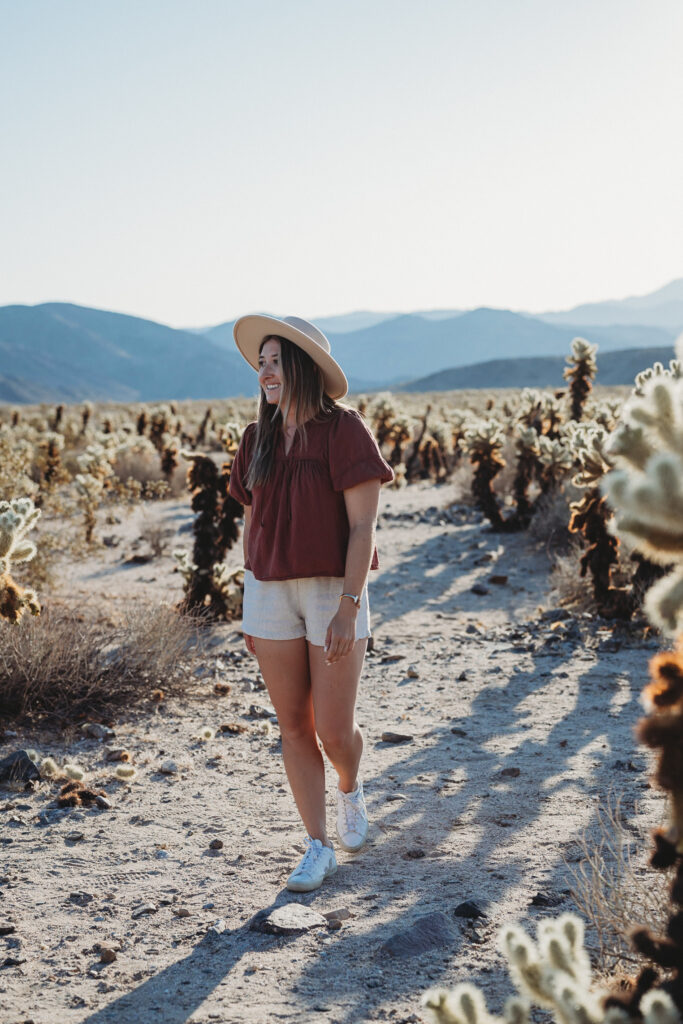
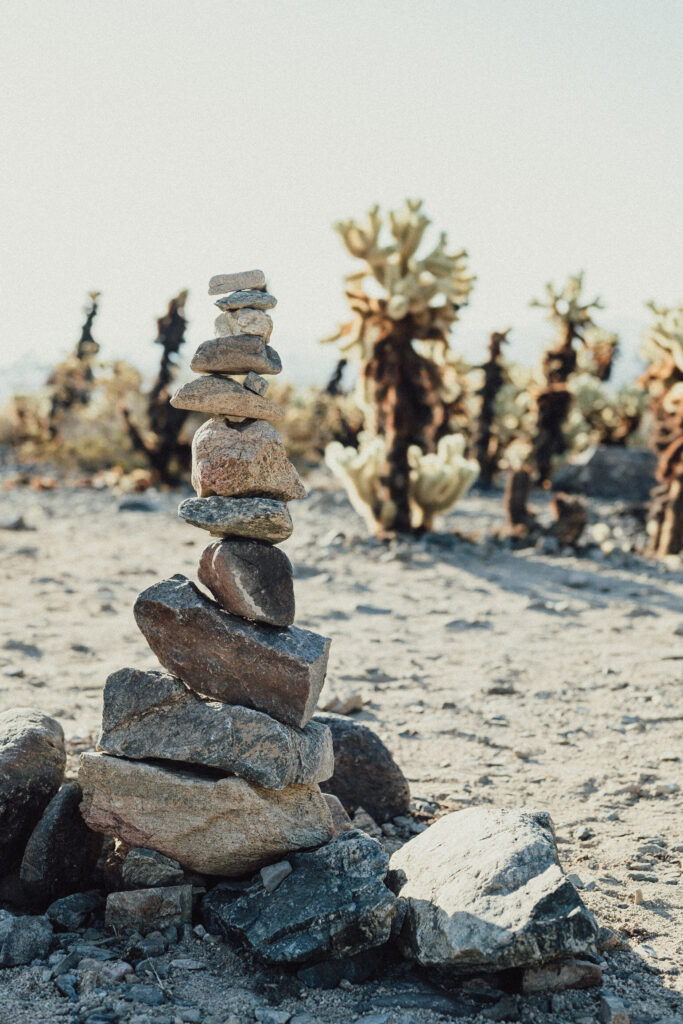
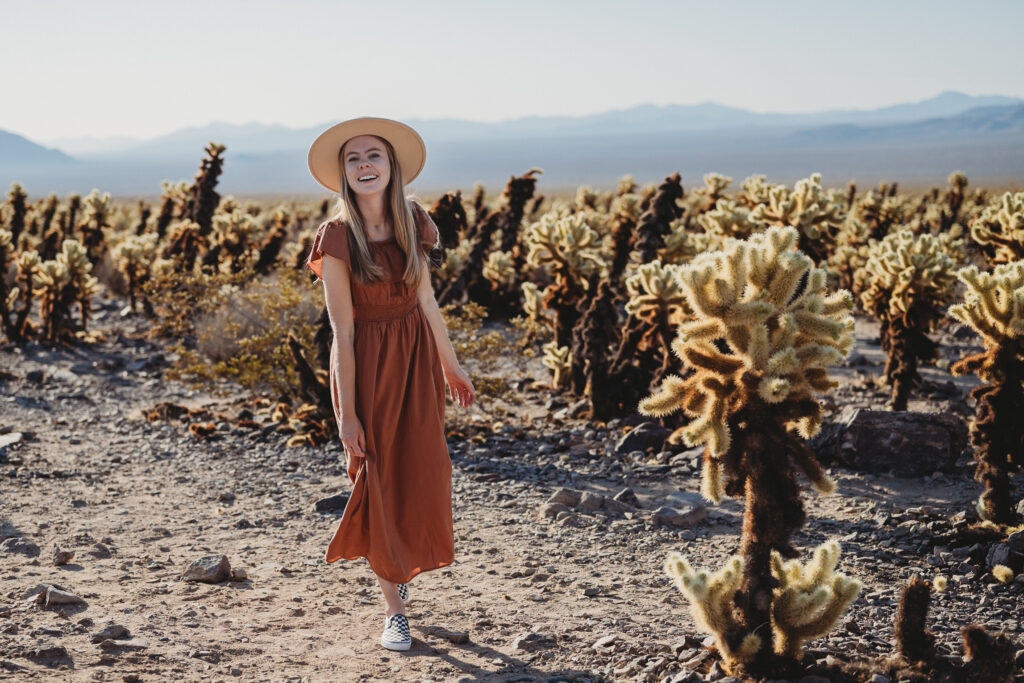
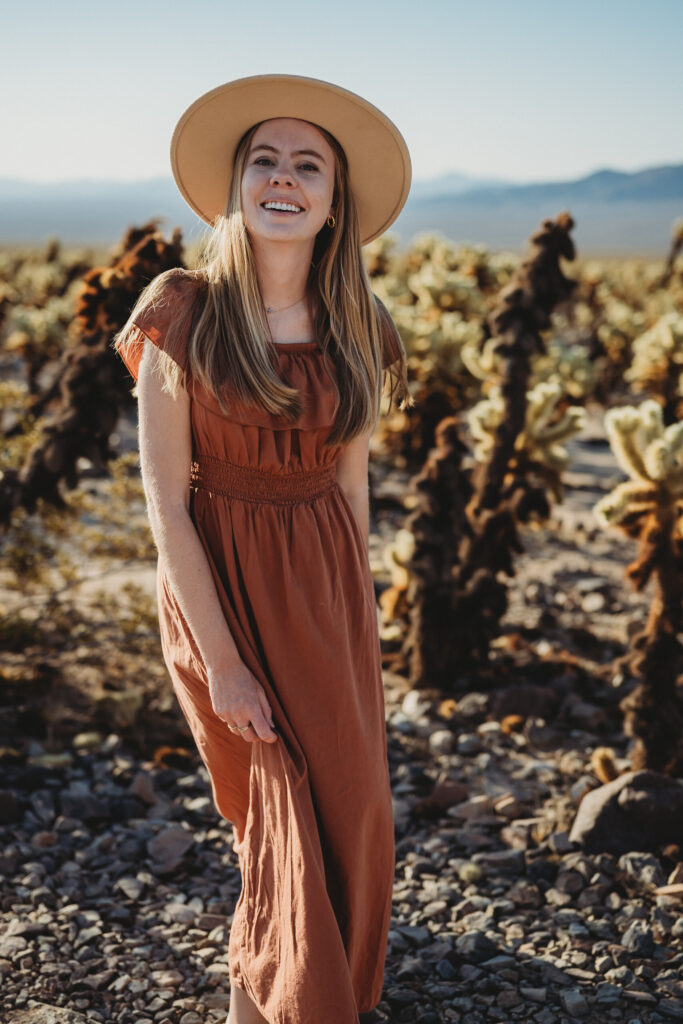
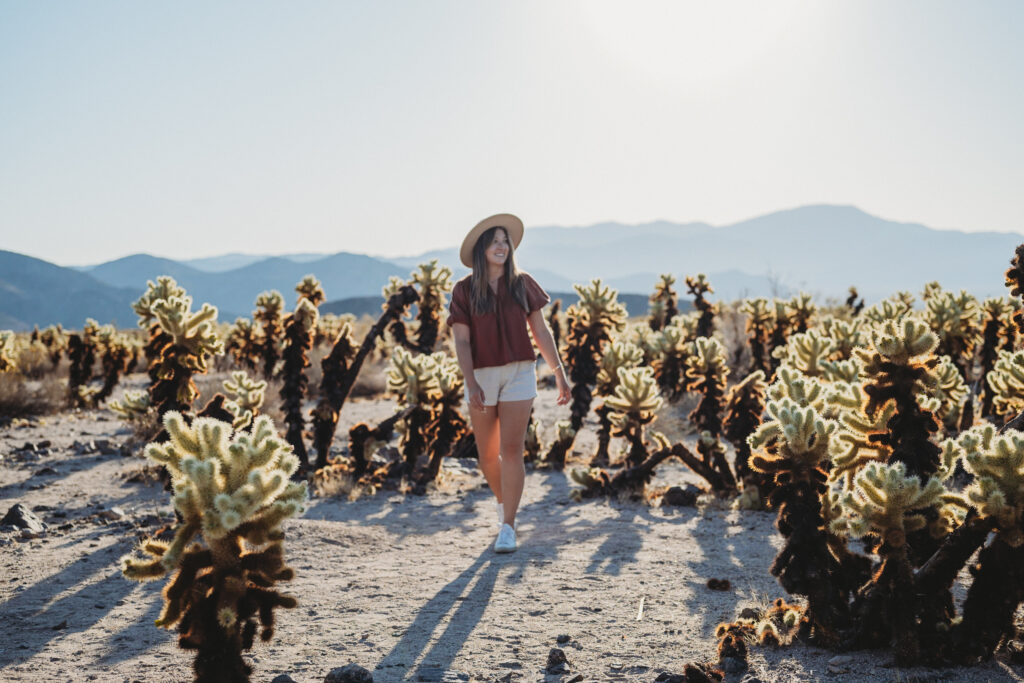
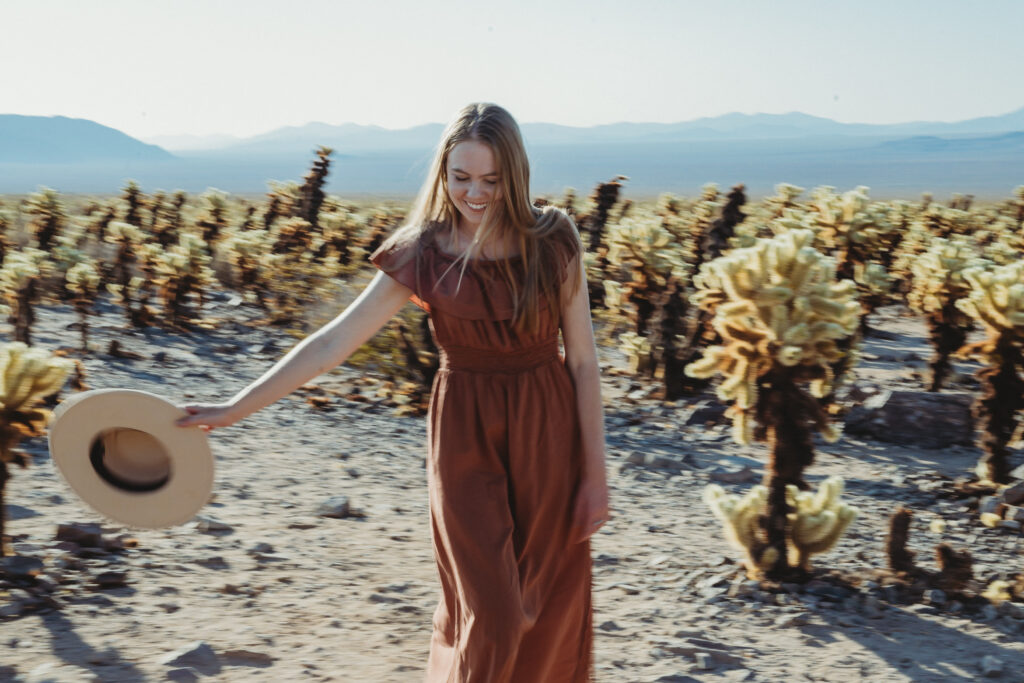
I heard that sunrise photos at Cholla Cactus Garden are the ~iconic~ JTNP photos to get, so of course we worked that into the itinerary.
Let me tell you, we were not expecting what we experienced that morning in Joshua Tree.
We got up before the sun at 4:00am, got dressed and ready, drove an hour from our airbnb to Cholla Cactus Garden and parked in the very obvious, mostly empty parking lot. As I half open my door to get out, Megan watches a BEE fly into the car, so I rush to get out and shut the door before more follow.
OH, BUT OUTSIDE WAS NOT THE PLACE TO GO. Bees are now SWARMING around my car. (I read very briefly that bees were active in the park in the summers, but I did not expect this). In an effort not to get stung, we were constantly moving around the parking lot trying to decide how to get camera gear out of the car. I won’t embarrass myself by telling you how long it took us to grab our things because we just so badly did not want to get stung…
~ anyway ~ we got our stuff, took some photos (starting about an hour after sunrise), and then spent an hour trying to get back in the car without letting them infiltrate the entire vehicle.
Barker Dam Loop Trail
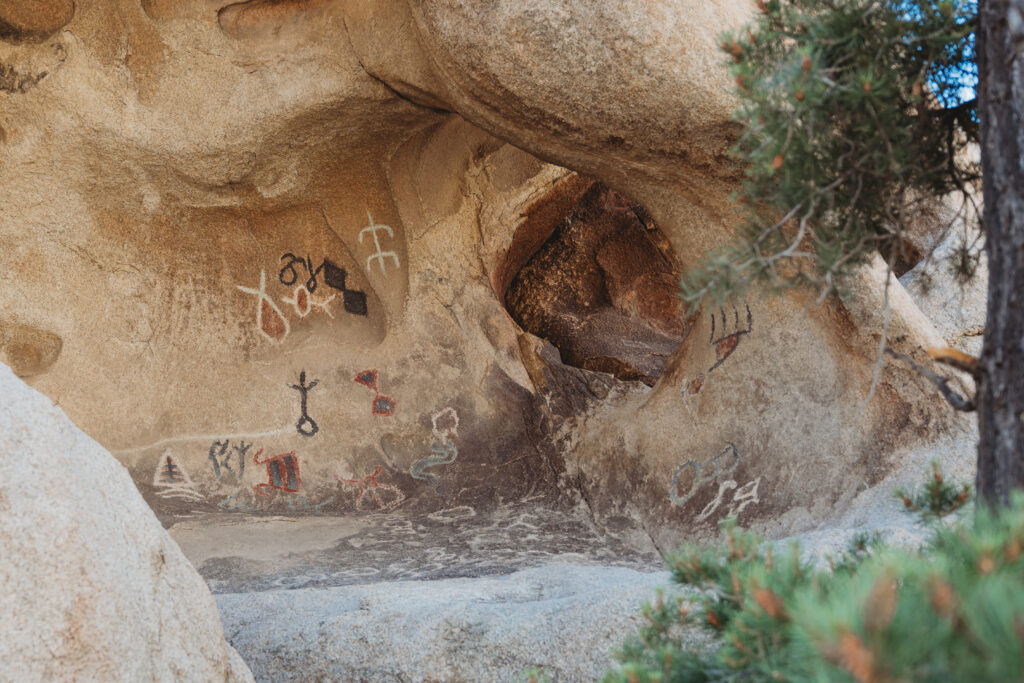
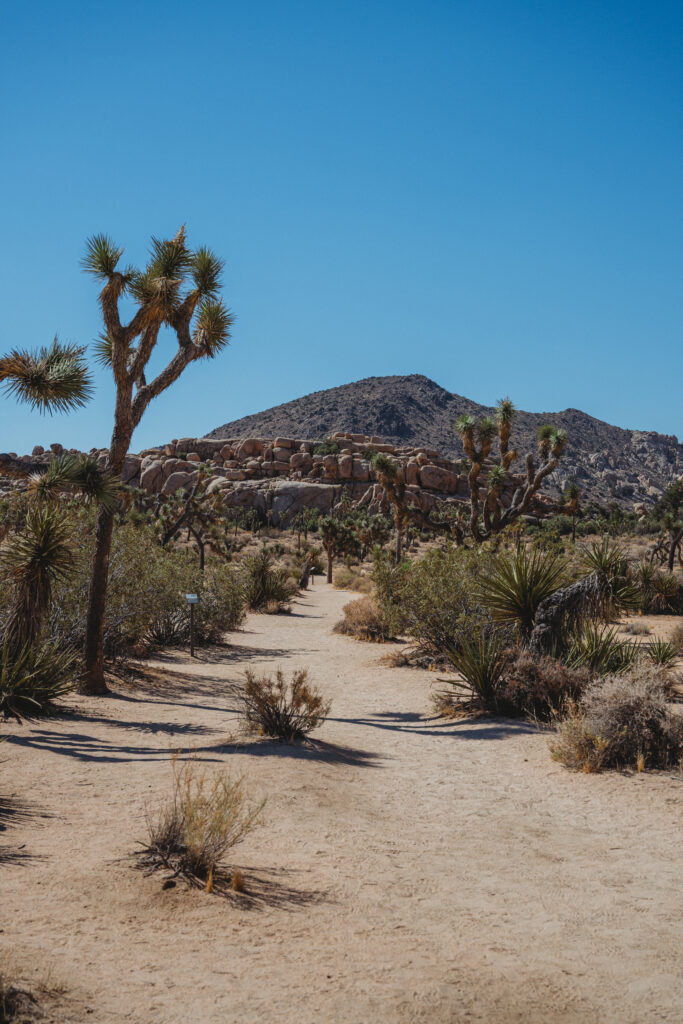
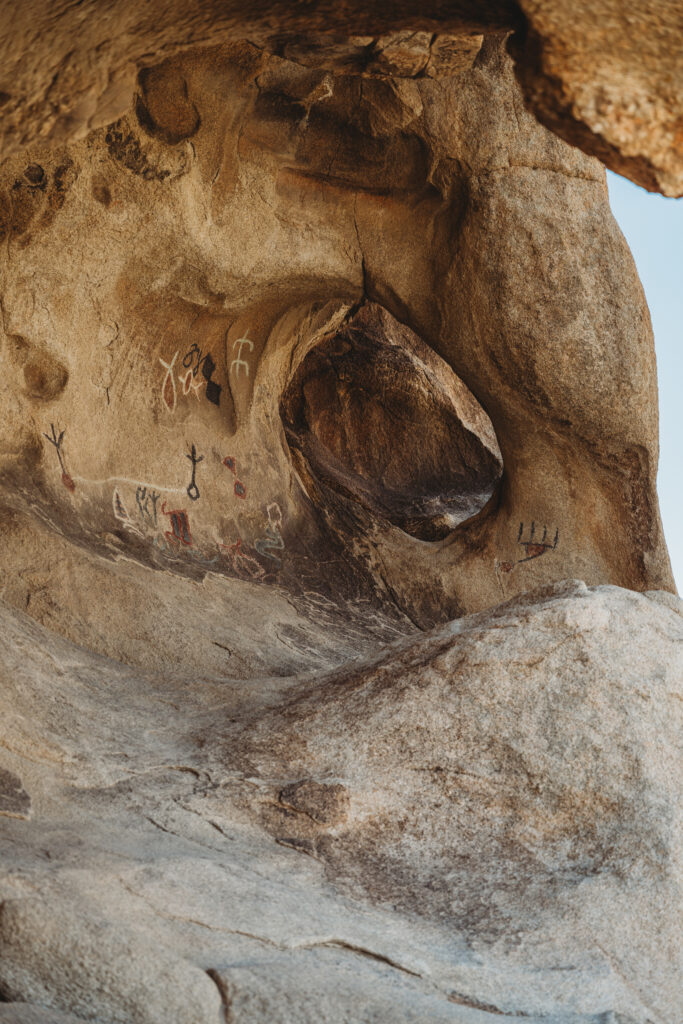
We were a bit worn out from avoiding the bees, so we chose to do an easy 1.1-mile loop trail at Barker Dam. We strolled on this flat trail, following the signs, and checked out the petroglyphs before heading back to the parking lot.
Time to Hit the Road!
At this point, it was getting really hot and we had plans to drive to Newport Beach to visit Megan’s family, so we went ahead and made our way by the visitors’ center for stickers/stamps/souvenirs, and went on our way to the coast!
I hope you enjoyed this guide on Joshua Tree National Park Itinerary and Photography! Read about more of my travel stories on the Kate Waldis Creative blog.